Minimal Desktop i3 on a Raspi
i3 is a modern developer friendly windowmanager which is quite popular since a while. anyone who aims for a distraction free desktop may love it. i do and here’s why.
why?
since years i am quite happy with a standard gnome setup under rock-solid Debian/GNU Linux and MacOS (which i use to run Adobe Lightroom & AndroidStudio/Flutter on). but recently i decided to declutter my professional as my private life, selling most of my expensive gadgets on ebay and try to work with minimal equipment as often as possible.
so i bought a raspberry pi4 and started writing a simple distraction free sort of writing software on it as a first pet-project for fun. the positive vibes such a simple & calm writing environment had on me felt great.
to declutter the whole desktop-environment consequently was the next logical step. any lightweight window manager without any bells and whistles should do.
but which good one to choose?
the most widely known and praised at the moment seems to be i3.
surely this itself doesn’t mean much. in enterprise IT we all know lotso praised crap, am i wrong? anyways: after watching this (long) Google-Talk from 2012 or so by i3’s core-developer Michael Stapelberg , who initiated the project ~10 years ago, i was hooked and gave it a try finally.
and you know what? oh my gosh…
i3 just rocks! <3
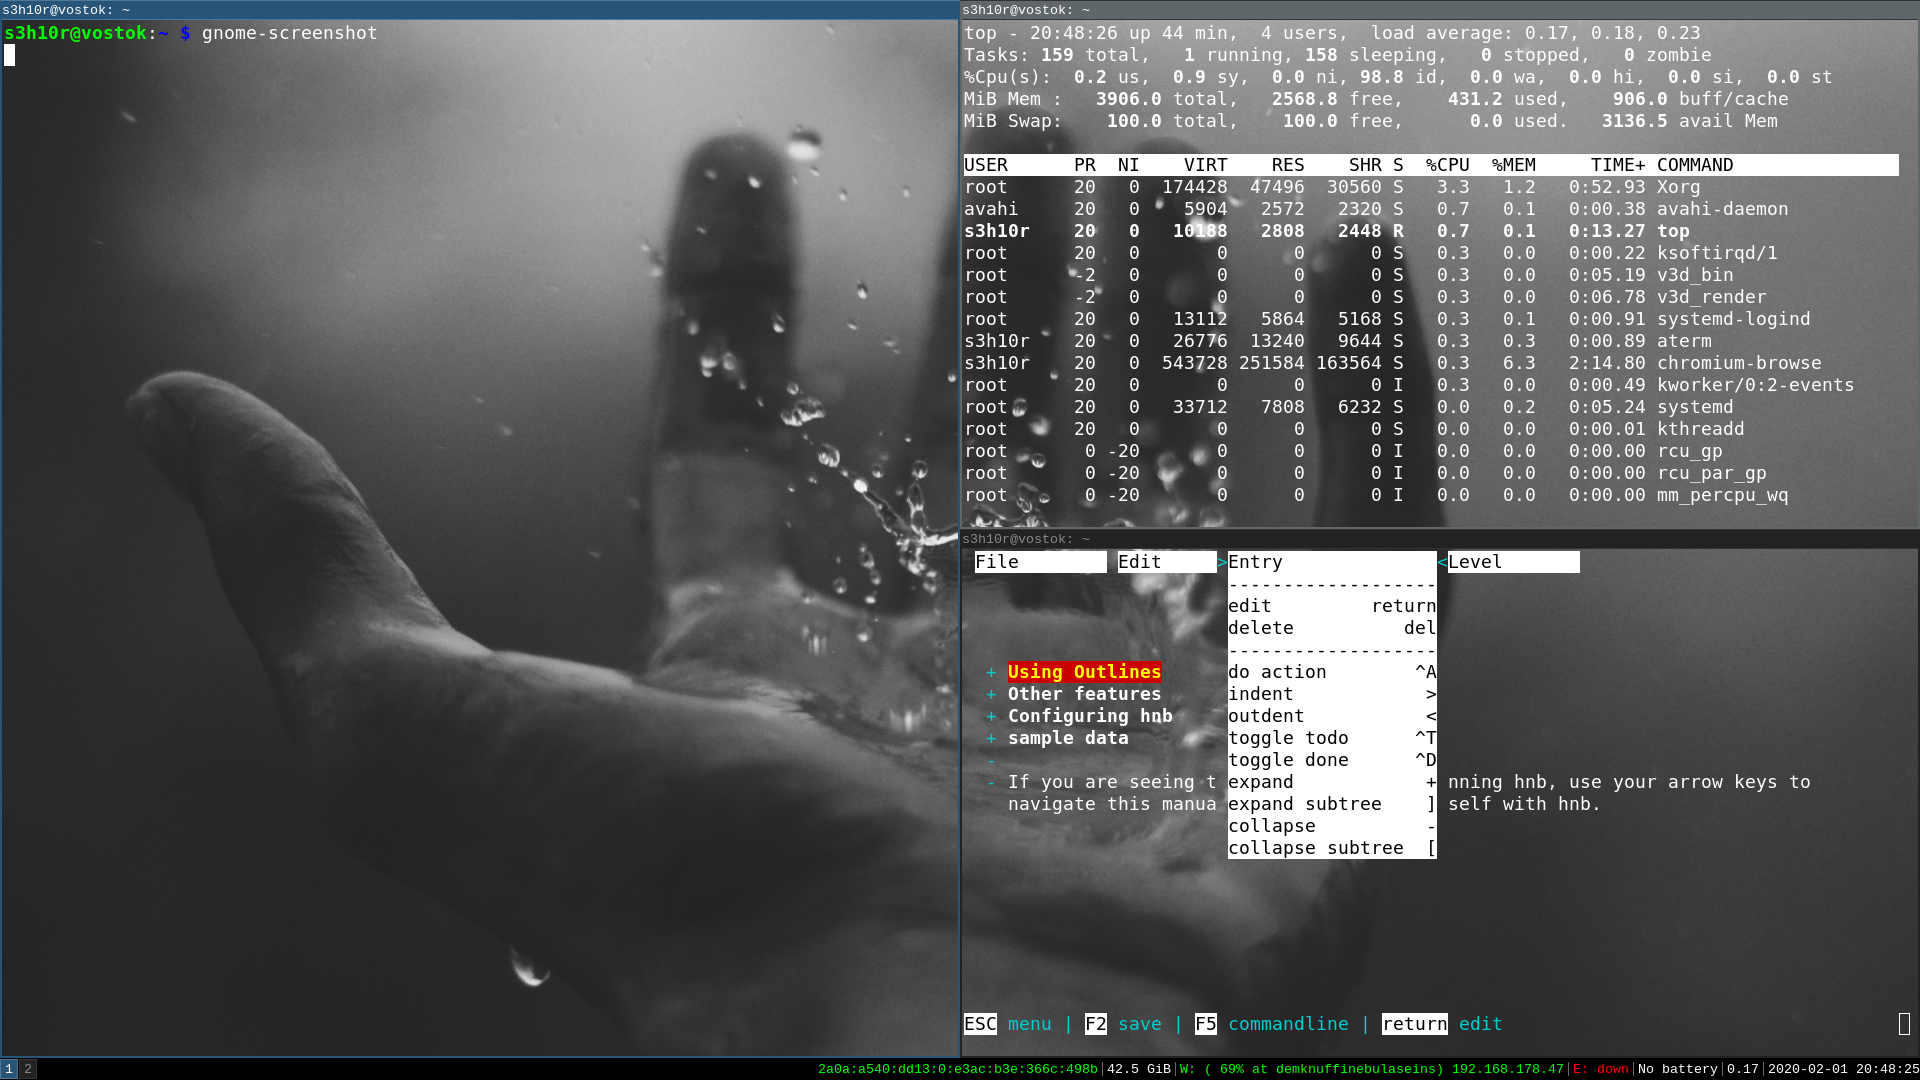
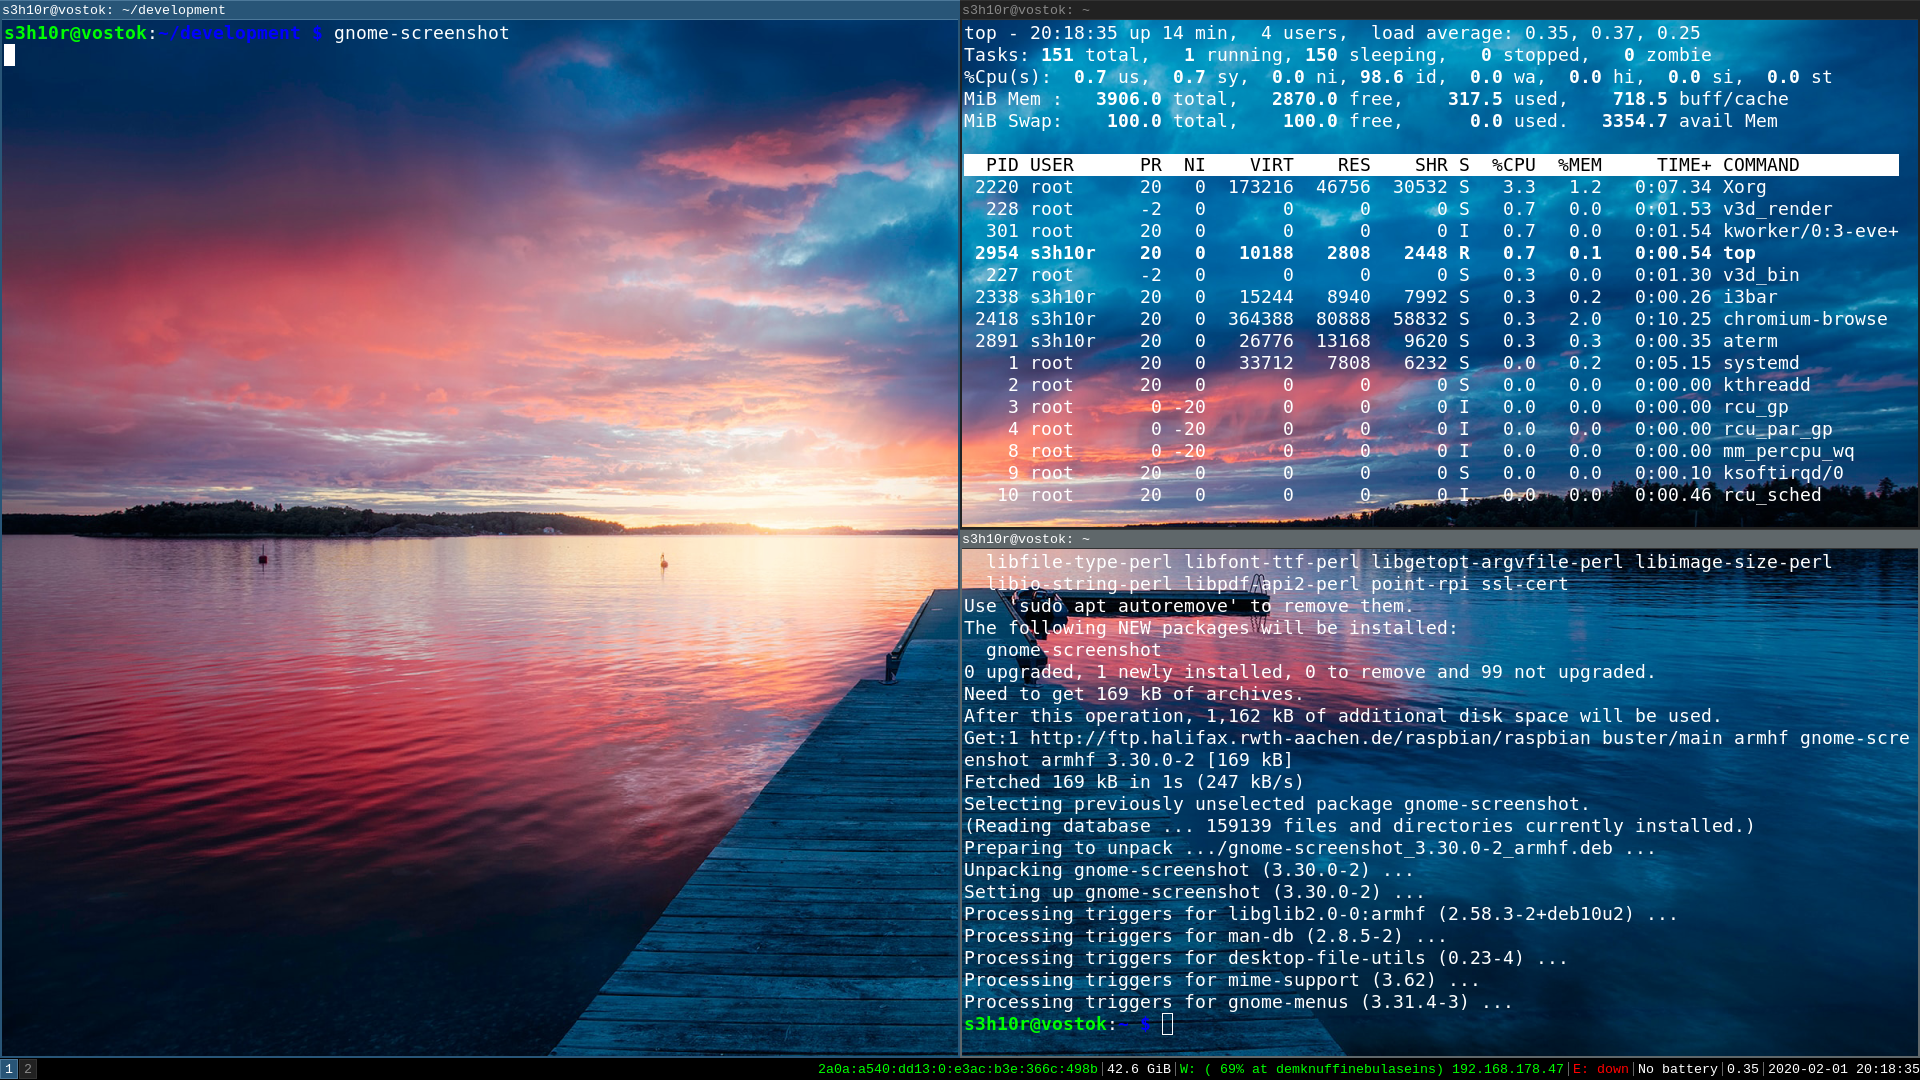
using i3 feels absolutely “natural” to me after “learning” the basic handfull of “keyboard shortcuts”. it is a “tiling window manager”which means it opens windows by splitting the screen horizontally or vertically into subwindows (“tiles”) - so no space is ever wasted and no window overlaps another (as you can see in the screenshots). if you run out of screen-space (for example on a laptop computer) you can easily switch to “stacking” or (the well known) “tabbing” of some windows, moving a window to another one of the by default 10 virtual desktops/workspaces etc. switching between windows is intuitive once you are comfortable with your $mod key as the “center of doing” - it doesn’t require the “pressing tab pattern/habit” (means you don’t have to step through all the windows sequentially as it is implemented in lotso “desktop metaphers”) - instead you are moving through the “tiles” with the directional (cursor-)keys. sounds a bit complicated but believe me it’s straightforward and fast to use.
nevertheless, i3 is not the cup of tea for everyone. if you don’t like to use a shell/terminal and prefer “phat” design and animations you don’t need i3! and that’s totally fine. if you want a minimalistic solution for a distraction free working environment i3 nails it to the point and you definitely should give it a try.
in the following i show you how.
how to install i3?
luckily i3 is already included in the Debian/Raspbian/Ubuntu repository:
$ apt-cache search i3-wm
i3 - metapackage (i3 window manager, screen locker, menu, statusbar)
i3-wm - improved dynamic tiling window manager
i3-wm-dbg - Debugging symbols for the i3 window manager
chances are high that it is also available pre-packaged for your favourite linux distribution. If not you also can compile it yourself of course but the benefit of doing so would be marginal imho.
In the following Raspbian OS (the debian derivate for the Raspberry Pi) is used:
installation is straightforward, open a shell and install it via
$ sudo apt-get install i3 dmenu suckless-tools
now we need to do some minor but important config-changes (assuming you, like me, don’t wanna login via tty-console).
- changing the “greeter” (login-manager) so we can select to login into i3 (or other window managers you like)
$ sed -i s/greeter-session=pi-greeter/greeter-session=lightdm-gtk-greeter/g /etc/lightdm/lightdm.conf
- disable the default “auto login” by using
raspi-config
$ sudo raspi-config
- select “Boot options”
- select Desktop/CLI
- select “Desktop GUI,requiring user to login”
… and that’s it! :)
the first login is … erm… maybe a bummer :-D
… but don’t worry “everything” is configurable of course! I strongly recommend to read the excellent user documentation for doing
your first steps with i3. To do so you can (in i3) press $mod+Return - where $mod is either the ALT-key
or the “Windows-”-Key - to open a terminal window and type:
$ chromium-browser --app=https://i3wm.org
which gives you immediatly an impression if the “tiling-windows-thing” is something you resonate with or not.
Or you can use the “dmenu” by pressing $mod+d and then type chromi or so (autocompletion depends obviously on what software you have installed on your system)
to select the browser to start.
Have fun! (:
btw. here’s an unpolished quick overview of i3 as screencast. A great thing if you read until here (thanks) but still think “WTF?!?”… ;)
customization
i am using i3 since this weekend yet and had not much needs to change its default config. the things i changed are:
- using
atermas terminal - using a picture as wallpaper which is randomly choosen on startup / restart
- naming some workspaces (“Terminals”, “Web”, “Development”, …)
- starting chrome on workspace “Web” automatically
- pimping my vim-config (plugin-zoom, colorschemes, …) - and realizing that i was totally wrong in first being
“sad” that there’s no
atomunder raspi/arm-architectures yet.vimjust great and easy to use viatmux-session on the server-side too! <3 - binding a fancy screen-lock to shift+$mod+x
you can find everything to do so easily on the i3 webpage and of course also in my dotfiles in case you’re curious.